
Running Ubuntu 9.10 under Amazon's Elastic Cloud
Cloud services are all the rage today, although some of my fellow Linux Journal staffers may scoff when they hear me say that. Cloud services is a nebulous term that can mean anything from completely hosted services (like Gmail) to virtualized, leased servers, such as those provided by Amazon's EC2 service. And, the latter is the subject of this article. Recently, with the advent of Ubuntu 9.10 (Karmic Koala), Canonical has added support for pre-baked Amazon EC2 images. This makes spinning up your own personal cloud servers fast and easy—although not necessarily economical (see the Amazon EC2 Economics sidebar for a quick cost breakdown of EC2).
The Ubuntu EC2 Starters Guide (see Resources) should be your first stop. This document guides you through the process of creating your own EC2 instance. Before you can do anything at all with EC2, you need to set up an Amazon EC2 account. Go to the URL listed in the Resources section, and either sign in with your existing Amazon account or create a new one. Then, click on the EC2 link and sign up for the EC2 service. You need to provide a credit card for billing purposes. Once you've done that, select the Create an X.509 Certificate link that's presented on the thank-you page. Select yes to create a new certificate, and then download your certificate and private key to your hard disk. Finally, make a note of your AWS account ID number, as you may need it later.
Now that you've got your Amazon account and are enrolled in the EC2 program, it's time to start installing the management tools on your local system. If you're running Ubuntu, simply type sudo apt-get install ec2-api-tools to download the EC2 management tools. You also need the Sun 1.6 JDK (installable via sudo apt-get install sun-java6-jdk). If you're using another distro or Mac OS X, you can get the toolset by following the link in the Resources section of this article. The tools are nothing more than a .zip file full of Java binaries and shell scripts, so they're fairly portable.
Now that you've got the tools, the next step is to edit your environment variables. Simply adding the following lines to your ~/.bashrc file will do the trick (make sure to edit the path and filename to suit your own setup):
export EC2_PRIVATE_KEY=$HOME/<path-to-your-private-key>/pk-XX.pem
export EC2_CERT=$HOME/<path-to-your-certificate>/cert-XX.pem
export JAVA_HOME=/usr/lib/jvm/java-6-sun/jre
To test the tools, run the following from a new terminal:
ec2-describe-images -o self -o amazon
You should receive a list of all the publicly available EC2 images published by Amazon.
Because the Ubuntu EC2 images are publicly available, you need to generate an SSH key to access them. Do this on your local machine by running the command:
ec2-add-keypair ec2-keypair > ec2-keypair.pem
Make sure the permissions on the file are read-write for your user, with no access for anyone else (chmod 600 ec2-keypair.pem).
Now that you've finished the groundwork, you're ready to start up your first Ubuntu 9.10 instance in the cloud. The ec2-run-instances command will start your instance for you, but you need to feed it an AMI ID and your keypair. The AMI ID is nothing more than a unique identifier that is associated with a published EC2 image. Because I want to instantiate the “small” Ubuntu 9.10 EC2 image for this example, I use the “ami-52be5d3b” AMI ID. The links to publicly available Ubuntu 9.10 images and their AMI IDs are available in the Resources section of this article. Once you run the ec2-run-instances command, you will see output similar to the following:
$ ec2-run-instances ami-ab15f6c2 \
                    --key ec2-keypair --instance-type m1.small
RESERVATION  r-d8b376b0  748502897232  default
INSTANCE     i-bc9913d4  ami-ab15f6c2 \
                 pending     ec2-keypair  0 \
                 m1.small    2009-11-02T22:23:12+0000 \
                 us-east-1d  aki-76be5d1f  ari-4cbe5d25
Instances may take a few minutes to start up (shown by the “pending” status in the output above), particularly if this is your first one. To check on the status of your instance, you can run the ec2-describe-instances command. When your instance is running, you'll see something similar to the following:
$ ec2-describe-instances
RESERVATION  r-d8b376b0  748502897232  default
INSTANCE     i-bc9913d4  ami-ab15f6c2 \
                 ec2-72-44-62-167.compute-1.amazonaws.com \
                 domU-12-31-39-00-ED-A3.compute-1.internal \
                 running     ec2-keypair  0 \
                 m1.small    2009-11-02T22:23:12+0000 \
                 us-east-1d  aki-76be5d1f    ari-4cbe5d25
The “running” tag in the output denotes that the instance is up and running. Also listed is the Internet-facing DNS name as well as the internally facing Amazon DNS name. The default image has SSH running, but the EC2 firewall rules deny inbound port 22 access. To enable SSH access to the EC2 instance, you need to run ec2-authorize default -p 22. Once that is done, you can ssh to your instance using the SSH keys generated earlier:
$ ec2-authorize default -p 22
GROUP       default
PERMISSION  default  ALLOWS  tcp  22  22  FROM  CIDR  0.0.0.0/0

$ ssh -i ~/.ec2/ec2-keypair.pem \
         ubuntu@ec2-72-44-62-167.compute-1.amazonaws.com
Linux domU-12-31-39-00-ED-A3 2.6.31-300-ec2 #3-Ubuntu SMP \
      Sat Sep 26 10:31:44 UTC 2009 i686

To access official Ubuntu documentation, please visit:
http://help.ubuntu.com/

 System information as of Mon Nov  2 22:45:44 UTC 2009

 System load: 0.0             Memory usage: 1%  Processes:       56
 Usage of /:  7.6% of 9.92GB  Swap usage:   0%  Users logged in: 0

...

ubuntu@domU-12-31-39-00-ED-A3:~$
At this point, your instance is ready for you to start configuring whatever software you choose to run on it. Because it's essentially an Ubuntu machine, administration and package management is done just like on the systems you're used to (assuming you use Ubuntu). You simply can use apt-get!
As an example, I'm going to get a quick Apache server running. First, I update the apt indexes on the instance by running sudo apt-get update. Next, I install Apache on the instance by running sudo apt-get install apache2. Apache is installed and running using the default Ubuntu configuration. However, I can't actually hit the Web server from my desktop here, as port 80 and 443 are disallowed by the EC2 firewall. I do a quick ec2-authorize default -p 80, and now Firefox on my local machine can hit the Web server I just installed on the EC2 instance, as shown in Figure 1. It's not the most exciting of Web pages, but it's something!
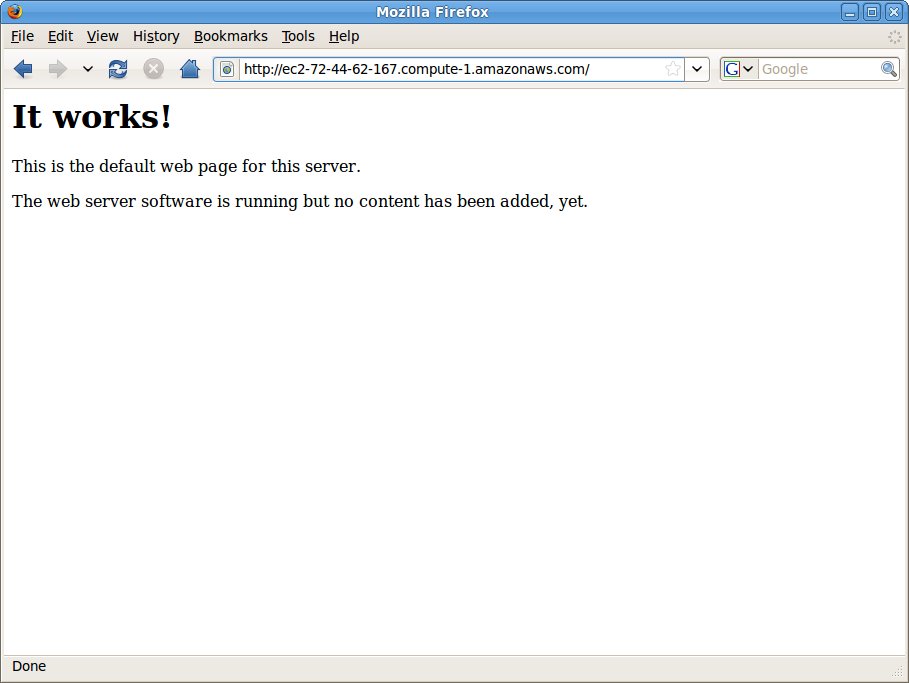
Figure 1. My Web server's in the cloud!
Last but not least, you'll want to terminate or shut down your instances when they're not in use to save money. That's done via the ec2-terminate-instances command. Simply run it with the ID number of your instance (which can be determined via the ec2-describe-instances command), and your instance will terminate:
$ ec2-describe-instances
RESERVATION  r-d8b376b0  748502897232  default
INSTANCE     i-bc9913d4  ami-52be5d3b \
                 ec2-72-44-62-167.compute-1.amazonaws.com \
                 domU-12-31-39-00-ED-A3.compute-1.internal \
                 running     ec2-keypair  0 \
                 m1.small    2009-11-02T22:23:12+0000 \
                 us-east-1d  aki-76be5d1f  ari-4cbe5d25

$ ec2-terminate-instances i-bc9913d4
INSTANCE        i-bc9913d4      running shutting-down
There you have it. You can run your own servers “in the cloud”, thanks to Canonical and Amazon. It's certainly a lot faster than installing your own OS, and it requires no physical equipment nor the need to buy anything. EC2 instances can be a great way to extend your own computing platform, provide capacity on demand to a service or enable you to spin up a replacement server. Whatever you use EC2 for, keep in mind the hourly rate, or you run the risk of getting an unexpected bill at the end of the month.
Amazon EC2 Economics
Amazon's servers are priced on an hourly basis, for every hour the instance is running. The baseline server, otherwise known as the “small” configuration, is basically a Xen virtual machine with 1.7GB of RAM, one core of CPU measuring one EC2 unit (approximately a 1.7GHz CPU) and 160GB of storage. The “large” configuration is 7.5GB of RAM, two cores with two EC2 units each and 850GB of storage. The small instance is $0.085 per hour, and the large instance is $0.34 per hour. Amazon also charges for data sent and received. Incoming data is billed at $0.10 per GB, and outgoing data is billed at $0.17 per GB. Larger plans are available for more compute-intensive applications, but the cost for those is even higher. This means that the average small instance probably will run around $70 per month to operate, and the large instance will run somewhere around $250 per month. Of course, this also depends on the amount of bandwidth consumed. Although the monthly costs are a little on the pricey side, there are no setup fees, equipment maintenance costs or capital expenses needed to run this solution. EC2 isn't a one-size-fits-all solution, but it may make sense for some applications.
How Can I Figure My Costs, Exactly?
It's rather tough to nail down cost for an EC2 instance, as it depends on things like bandwidth. However, there is a small dashboard-like application you can install that can help you track your costs. The package byobu (formerly known as screen-profiles) can help. After apt-getting byobu and running byobu, you'll get a screen session with a small two-line dashboard at the bottom of your terminal window. To add the EC2 information, press the F9 key to bring up the byobu menu, select Toggle Status Notifications, then select the ec2_cost notifier, and press Apply. Then you'll have a neat little running total of the approximate cost for your EC2 instance, as shown in Figure 2. You can see this particular run cost me 40 cents! Byobu has all kinds of other useful little widgets too; check it out if you do a lot of management via a terminal.
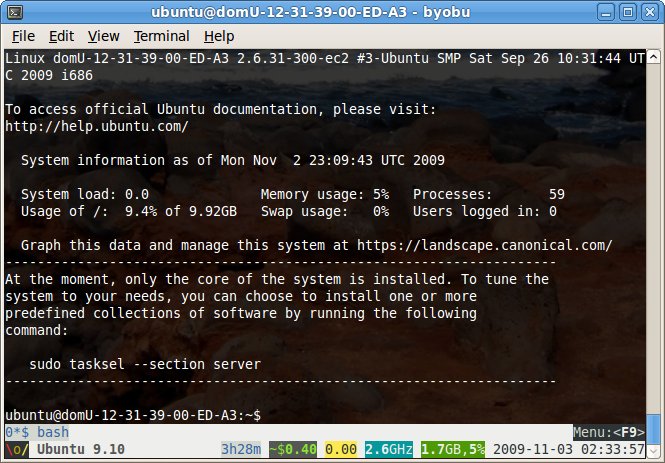
Figure 2. Pennies Here, Pennies There
Resources
Ubuntu EC2 Starters Guide: https://help.ubuntu.com/community/EC2StartersGuide
Amazon AWS Portal: aws.amazon.com
Amazon EC2 Signup: aws.amazon.com/ec2
Amazon EC2 Getting Started Guide: docs.amazonwebservices.com/AWSEC2/latest/GettingStartedGuide
Amazon EC2 API/Management Tools: developer.amazonwebservices.com/connect/entry.jspa?externalID=351&categoryID=88
Ubuntu EC2 Image List: uec-images.ubuntu.com/releases/karmic/release
Bill Childers is an IT Manager in Silicon Valley, where he lives with his wife and two children. He enjoys Linux far too much, and probably should get more sun from time to time. In his spare time, he does work with the Gilroy Garlic Festival, but he does not smell like garlic.


