
Writing Your Own Image Gallery Application with the UNIX Shell
Digital photography has become so ubiquitous today that even medium-range mobile phones can capture photographs. Once you transfer photos to the PC, you need to be able to share them with friends and relatives. Most digital cameras produce such high-resolution images that sending them directly to folks via e-mail is not always convenient.
This is when you need an on-line photo-sharing Web site, such as flickr.com, to help share photographs simply by uploading them. Of course, you also can do the heavy lifting with tools such as gallery2.
But, in this article, I discuss how to utilize the power of the Linux command line to create an image gallery.
All of you have heard of the GNU Image Manipulation Program (GIMP). It is useful for interactive image manipulation, photo retouching and other editing purposes, but I find it quite difficult to use. There are often much simpler alternatives that do a much better job for commonplace image editing. The nice thing about these alternatives is that you can run them directly from the almighty command line, which can save time and facilitate easy scripting. Here are some such tools that interest me:
qiv: this one is the fastest of the lot. It is lightweight, and it can handle a huge list of images on the command line. In fact, you can reproduce the “persistence of vision” effect of video by dumping the frames using MPlayer's -vo jpeg or -vo png driver and view them using qiv *. Pressing the spacebar gives the same effect of actually watching the video sans the audio.
xloadimage: xloadimage, or xli, is another application for viewing images.
xv: this one is rather outdated now, but it is worth taking a look at it. Some of its image processing algorithms are cool.
tgif: tgif, along with dia, xfig and friends, is most useful for creating technical drawings, block diagrams and the like. I find tgif to be really user-friendly and powerful when it comes to certain common image processing tasks, such as generating a collage or mosaic of images and annotating images with text.
Netpbm suite: this suite has more than 200 command-line utilities and is used for advanced image processing purposes that primarily are designed to be invoked from the Linux command line.
ImageMagick suite: this suite can be described as the be-all end-all of image processing. It has mind-boggling capabilities that can create animations, logos, convert file formats and, of course, do highly sophisticated image processing. Go to www.imagemagick.org/Usage for details on all it can do.
In this article, I focus primarily on using the ImageMagick toolkit for the purpose of creating an image gallery.
Obviously, you will want the gallery to be an HTML page for sharing with friends using the Web.
The first step involves generating thumbnails for all the images. These have to be linked to the images using HTML tags. But, before that, you need to take care of the images' varying orientations. Different photographs may have different dimensions, and you should be able to categorize the thumbnails based on that. This is no hard and fast rule, but I prefer it this way.
The next task is to annotate the images with relevant text, by watermarking either below or above the image. ImageMagick has a rich toolchest for achieving this task in an elegant manner.
You also will want to be able to retrieve, save and optionally display the EXIF data embedded in the photographs. After annotating the images, you may want to generate borders, frames or 3-D reliefs for better visual appeal. Usually, they look nice on Web pages with a white background.
Another nice-to-have feature is to be able to generate black-and-white photo equivalents. Of course, in addition to all this, if users want to download the original, untouched, pristine photo in full size, they should be able to do so. It might be worthwhile to provide a download link for all the photos in one single zip file.
For people who don't like clicking on each of the thumbnails, you can provide a slideshow. But, on Linux, you can do much better. You can create a full-fledged video with sound effects. I prefer a nice MIDI tune, appropriate for the occasion and mood of the snaps. This has a side benefit of being directly writable to DVD too.
But before this, it's a good idea to create vertical and horizontal mirror images of each of the photos. That way, the video has a better flow and visual appeal. It so happens that this is extremely easy to do with the Linux command line and ImageMagick.
You might have other requirements, such as correcting the exposure, brightness or contrast, cropping out certain parts of the image or doing photo retouching with more interesting effects. Again, ImageMagick can do the trick (as can qiv and other image display tools). To correct images, you might prefer an interactive tool, such as The GIMP or tgif.
Other possibilities exist, such as creating a mosaic of images annotated with nice fonts, but this does not make much sense in an image gallery application.
Now, let's get down to business.
It is best to use /bin/sh as the programming language. Because all the work is already done most elegantly and naturally by command-line utilities, you need only to invoke them with the appropriate switches and generate simple HTML code a la google.com.
The first task is to segregate the images into different directories, depending on the dimensions and orientation of each image. This is easily done with the following block of code:
#!/bin/sh

# script to segregate images based on dimensions

for image in *jpg
do
dimension=`identify -format "%wx%h" $image`
# we don't want mkdir shouting at us for
# directories that exist!
mkdir $dimension 2>/dev/null
mv $image $dimension
done
Now we have all images of identical dimensions, neatly arranged in separate directories. Let's proceed to generating the thumbnails for each of them. This script generates the thumbnails:
#!/bin/sh

# script to segregate images based on dimensions

# this is where we have all the thumbnails for each of the
# images classified by dimensions above
mkdir thumb
for dir in `ls -F |grep / | grep ^[0-9] `
do
 mkdir thumb/$dir 2>/dev/null
 cd $dir
 width=`echo $dir | cut -dx -f1`
 height=` echo $dir | cut -dx -f2 | cut -d/ -f1 `
 for image in *
 do
   convert -size ${width}x${height} $image  -resize 20% \
	   ../thumb/${dir}thumb-$image
 done
 cd ..
done
With ImageMagick, you have several nice features available for decorating thumbnails, and they look impressive.
1) Thumbnail with thickness and shadow:
$ convert rose.jpg -matte \
    \( +clone -fx DarkSlateGrey -repage +0+1 \) \
    \( +clone -repage +1+2 \) \
    \( +clone -repage +1+3 \) \
    \( +clone -repage +2+4 \) \
    \( +clone -repage +2+5 \) \
    \( +clone -repage +3+6 \) \
  -background none -compose DstOver -mosaic rose-thickness.jpg
2) A raised button effect:
$ convert -raise 8x8 rose.jpg rose-raised.jpg
3) Adding a frame to the thumbnail:
$convert -mattecolor peru -frame 9x9+3+3 rose.jpg rose-frame.jpg
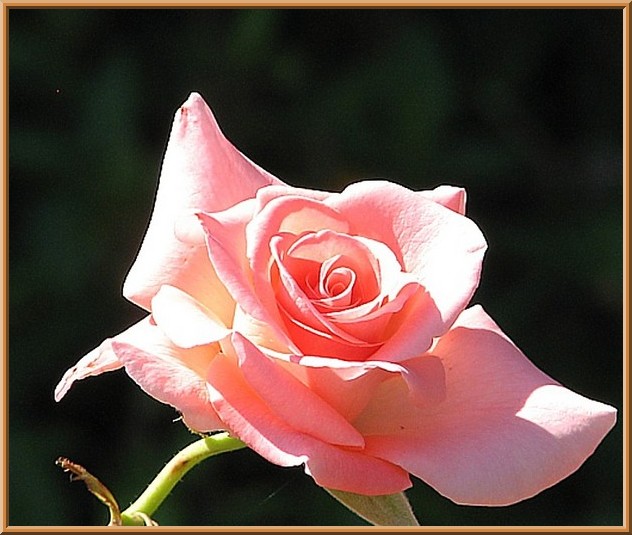
Figure 1. Image with Frame
Next, let's look at some interesting ways to annotate images with ImageMagick:
1) Text on the bottom-left corner with a vertical orientation:
$ convert rose.jpg -font helvetica -fill white \
  -pointsize 20 -gravity southwest -annotate \
  270x270+15+0 'Nice pink rose' rose-text.jpg
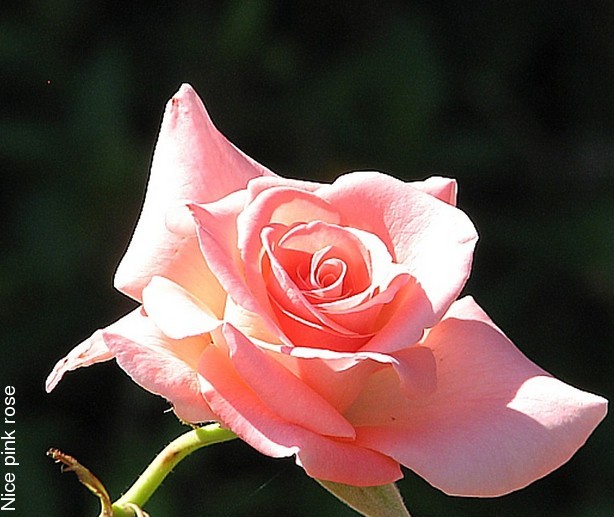
Figure 2. Image with Text
2) Text on a frame:
$ montage -geometry +0+0 -background white -fill \
  brown -label 'Nice pink rose' rose.jpg rose-text.jpg
Note that you can give any color to the -background and -fill switches. To find which colors are supported by ImageMagick, type:
$ convert -list color
3) You also can watermark, like this:
$ convert rose.jpg -font helvetica -pointsize 20 -draw \
    "gravity south  \
      fill black text 0,12 'Nice pink rose' \
      fill white text 1,11 'Nice pink rose' " rose-text.jpg

Figure 3. Image with Watermarking
4) Label the image on the top like this:
$ convert rose.jpg -gravity North -background green \
  -splice 0x18 -draw "text 0,0 'Nice \
  pink rose' " rose-top.jpg
You can create a video from the images using mencoder or FFmpeg. But before that, let's first create the horizontal and vertical mirror images of the snaps. It will be interesting to combine the images with the mirrors while playing the video:
$convert rose.jpg -flip rose-flip.jpg
$convert rose.jpg -flop rose-flop.jpg
These two commands create the vertical and horizontal mirror images, respectively.
You can combine the mirrors with the original with the append switch to convert:
$convert rose.jpg rose-flip.jpg -append rose-vertical.jpg
Instead of -append, if you specify +append, it creates the images side by side, which is what we want to do with horizontal mirror images:
$convert rose.jpg rose-flop.jpg +append rose-horiz.jpg
You might consider using the -resize option or -scale option to convert all images to identical dimensions:
$ mencoder "mf://*.jp" -mf fps=0.5:type=jpg -o \
  image-video.avi -ovc lavc -lavcopts vcodec=mjpeg
This creates an image video with all the images displaying one after another at an interval of one image every two seconds (fps=0.5). But, bear in mind that all the images need to have identical dimensions, or this will not work.
Now, you can combine this with a nice audio file to create a video that is playable on a DVD:
$ lav2yuv +n image-video.avi | mpeg2enc -f 8 -o image-video.m2v
$ mplex -f 8 audio.ac3 image-video.m2v -o final-video.mpg
Now, simply copy the final-video.mpg into your DVD and you are done.
You can generate the black-and-white equivalents of a color image using this command:
$ xloadimage rose.jpg -dump jpeg,grayscale rose-bw.jpg
To create an image gallery application, you need to obtain the thumbnails, border style of images, audio file for the background music and the text for annotating each image. You also can give the user the opportunity to specify a particular annotation style.
Once you have these inputs, you can use the command-line ImageMagick tools to create a gallery and use a simple shell script to link them all together with HTML and produce a Web page.
Resources
ImageMagick: www.imagemagick.org/Usage
Netpbm: netpbm.sourceforge.net
tgif: bourbon.usc.edu/tgif
gallery2: gallery.sourceforge.net
Girish Venkatachalam is a cryptographer with nearly a decade of experience working on various modern UNIX systems. He has developed IPSec from scratch on the Nucleus OS for a router and worked with the guts of Apache, OpenSSL and SSH. He can be reached at girish1729@gmail.com.
