
Delivering Effective Presentations with OpenOffice.org's Impress
As a Linux techno-guru, you recently have been volunteered to give a talk at a high-profile industry conference. Your stomach starts to churn as you realize that you might have to learn Microsoft PowerPoint. Oh, the humiliation! Fear not, OpenOffice.org Impress runs on your Linux box. Think how calm you'll be in front of all those people knowing that your trusted old friend Linux is right there at the other end of your wireless mouse.
Technical presentations are about transferring knowledge to the audience. The content is the show, you are the showman and the presentation technologies are the showbiz tools. Laptops, graphics, projectors, lights and presentation software all serve to organize the show and focus audience attention on the content.
As a techie myself, I know that technology is a siren call to be explored and fiddled with. We have to resist the temptation to tweak for now, though; we have a show to put on. Here, I discuss the basics of building a slideshow with OpenOffice.org Impress and a few ways to get your show organized. Then, I throw in a few power tips, so you will look like a pro in front of your adoring audience.
The OpenOffice.org Impress package lets you quickly construct and deliver an electronic slide presentation. With it, you can add graphics, make handouts and convert your slides to Web pages. It can do all the jobs needed to put on a great presentation. You simply add your content and personal style.
Loading OpenOffice.org Impress onto your Linux machine is simple. You might have OpenOffice.org already installed. Otherwise, go to www.openoffice.org and download the latest version; version 1.1 is around 77MB. The .gz file can be unzipped and put in its own directory. Then, run the setup file, fill in the blanks and you're ready to go.
You don't need a 3.0GHz laptop to run Impress. It runs fine on old 166MHz Pentium desktops with an 8MB video card and KDE or FVWM2 X window managers.
Fire up OpenOffice.org Impress and take a spin through the program. Let's first look at some basic functions and then come back and get our content organized. The easiest way to start a new presentation is with the AutoPilot feature, which provides a basic beginning framework. Graphics, text, animation and formatting can be added after you enter your content.
To build a presentation, click File→New→Presentation. In the next window, select Empty Presentation and then click Next. This next window lets you choose backgrounds. Click Next for a window that lets you choose slide transitions. Our first presentation doesn't have any transition effects and is controlled manually by the Page Up/Page Down keys or the mouse, so click Create. The Insert Slide window should appear here. It lets you select the slide layout. For our first sample, use the layout style named Title, Graphic, Text. Highlight that layout, click OK and watch your first slide appear (Figure 1).
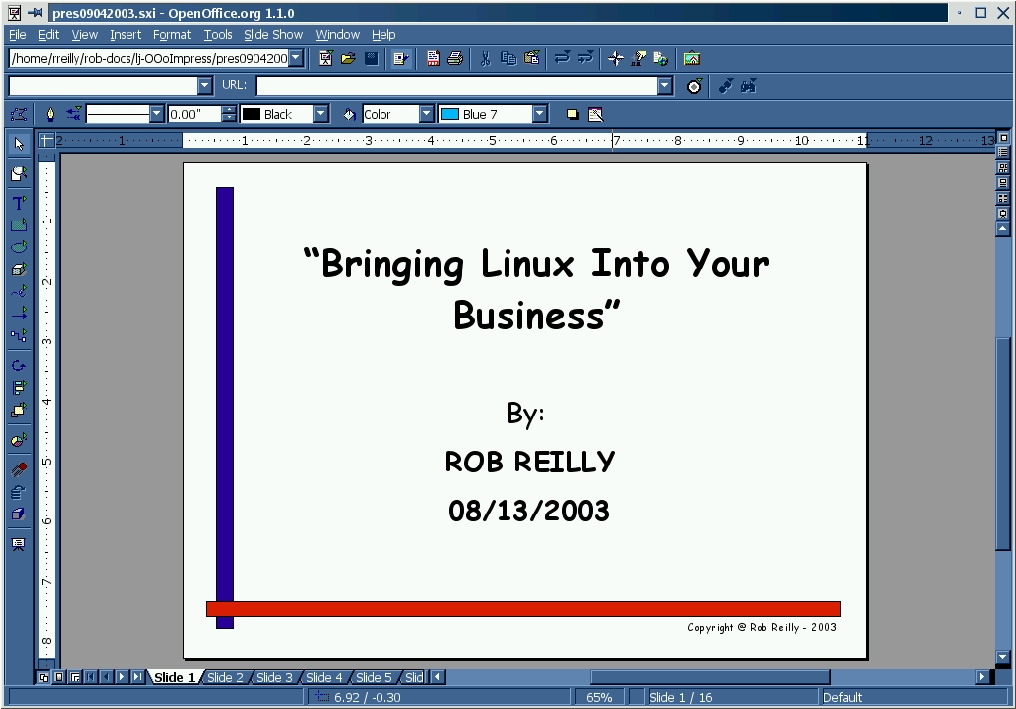
Figure 1. Building a presentation starts with the first slide. Here is the main Impress window.
This first slide offers you a place to enter your slide title, a picture on the left and your bullet points on the right. Using the default font size, the bullet point area forces you to work with only four or five lines. That's good because many experienced presenters put too much information on a slide. Use the slides and bullet points for a prompt and tell the story in your own words. By doing so, your audience sees you as an expert who thoroughly knows the subject.
The exercise of creating the first slide should take about 5–10 minutes. I intentionally went through the entire process because I wanted to get you right into the Impress program. Knowing how to build a basic slide provides you with the understanding necessary to organize your talk and build subsequent slides.
Forget about outlining your talk on paper; use Impress itself. Brainstorm your ideas logically, using the titles as main topics, each topic being a new slide, and put three or four bullet points under each topic for the details. You can rearrange and edit them after you've laid out all the material.
Adding a slide is easy. Start by clicking Insert→Slide. Select the type of slide and then click OK. Your slide shows up on the screen, and you can enter text or whatever you want. To duplicate the last slide, click Insert→Duplicate Slide. Now you're ready to add some text. Click the Text icon on the upper-left edge of the main Impress design window. Move the cursor to the slide and left-click a location. Now, type in your text. You can move the text to another location by dragging the middle of the text box. To resize the text, highlight and choose a new size in the point size space, at the top of the design window.
Adding graphics is equally as easy. Click Insert→Graphics, and select the graphic file to use. Click OK and the file is pulled into the slide. Resize the graphic by grabbing a side and moving the edge. To move the graphic, grab it in the middle and reposition to the desired location.
Handouts are groups of slides in a book form, with four slides per page by default (Figure 2). When printed, they can be stapled together or put in a binder and given to audience members before the show. For technical presentations, the handout allows the audience to take notes on a picture of the slide being discussed.
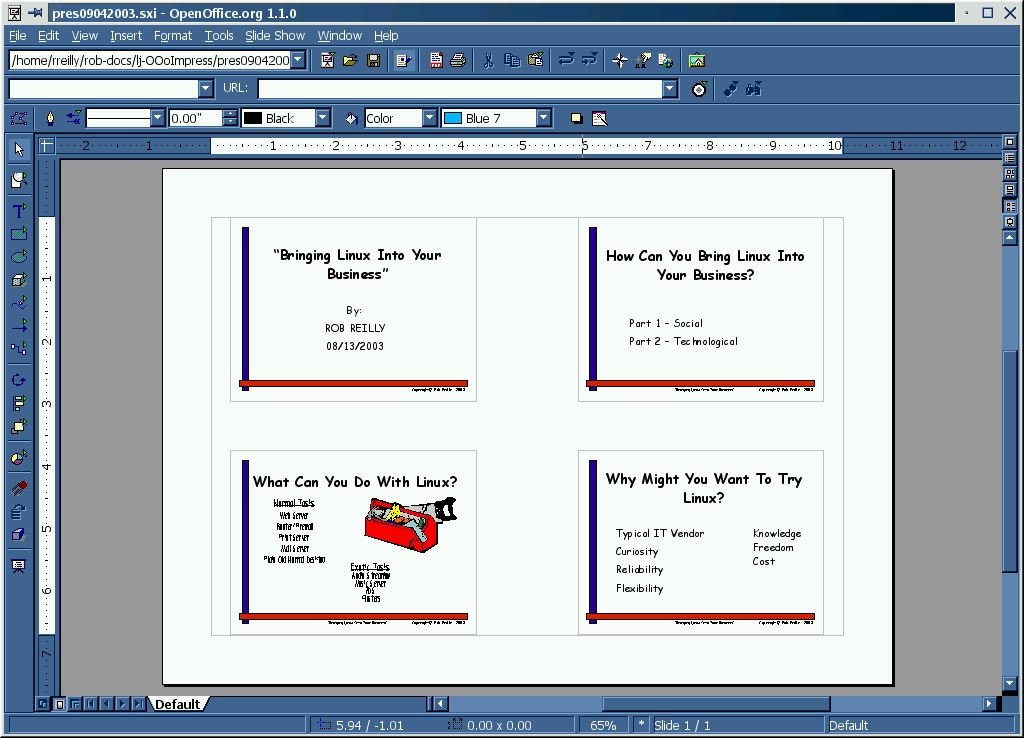
Figure 2. Previewing Handouts, Four per Page
To create handouts, switch to Handouts Mode by clicking the Handouts View icon along the upper right-hand window slidebar. Print the handouts by clicking File→Print→OK. Your entire presentation is printed with four slides per page.
Presentation notes add information that you or the audience find useful, but they don't show up when you run the slideshow. Print off a copy of the notes on paper if you have a big presentation and need some additional prompting.
To add a note to a slide, switch to Notes mode by clicking the Note View icon along the upper right-hand window slidebar. Select the Click to add notes section at the bottom, and enter any information you like. The slide then is displayed in the top part of the view (Figure 3). Finally, click the Slide View icon (above the Note View icon) to return to your slide, minus the notes.
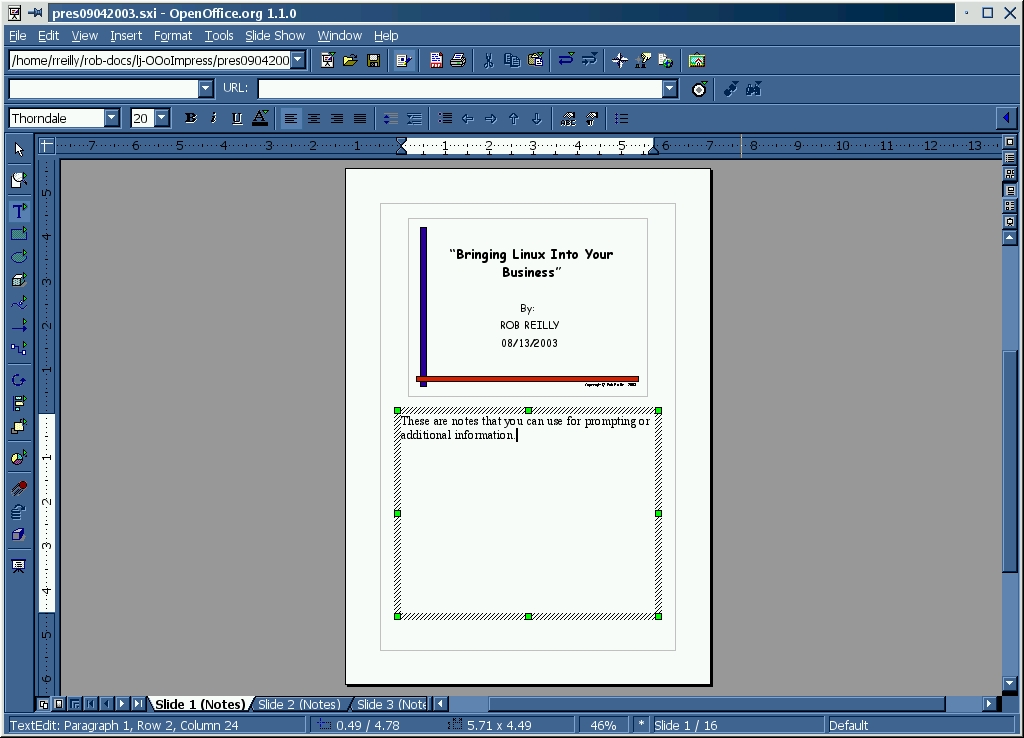
Figure 3. Adding Speaker Notes in the Notes View Screen
Naturally, you'll want to rehearse your masterpiece, once you've finished it. You always should practice your presentation before the main event. Switch to full-screen mode and page through your presentation with the Page Up/Page Down keys or the mouse buttons. Click the Start Slide Show icon on the right side of the windows slidebar (below the Note View icon) to get into Slide Show mode. Press the Esc button to return to the Impress Drawing View mode.
Creating and delivering your presentation to your audience has been our focus thus far. But, why not provide the slides to your audience on a Web page (for review later) and look like a real professional speaker? By directing your audience to your Web pages, you also are able to show them your company information, your bio, other presentations and whitepapers and Web articles. Nothing makes a speaker more credible than providing valuable information and services to his or her audience, even after they leave the talk. That little extra effort of putting your presentations on your Web site can set you apart from the small-time tech speaker.
OpenOffice.org Impress makes it easy to set up simple Web pages based on your slides. Begin by opening your presentation in Impress, and click File→Export. Select the working directory for the HTML and graphics files. Next, enter the filename of your main HTML page (without the .html extension) and click Export. On the Assign Design screen, select Next. On the Publication Type screen, select Next. On the next screen you can save graphics as JPEGs, so select Resolution medium—600×800. Fill in the author, e-mail, home page and information on the Information On The Title Page screen. Then, select Link to Original Presentation, and click Next. Choose the types of buttons you want for navigation around your pages and click Next. On the Color Selection screen, select Create. Finally, you can save the HTML design you created with a name on the Name HTML design screen. Save it and you're done.
You now have a cool set of basic Web pages that showcase your slides. The title page carries your name, e-mail, Web site URL and additional information (Figure 4). There's also a link to the original Impress presentation.
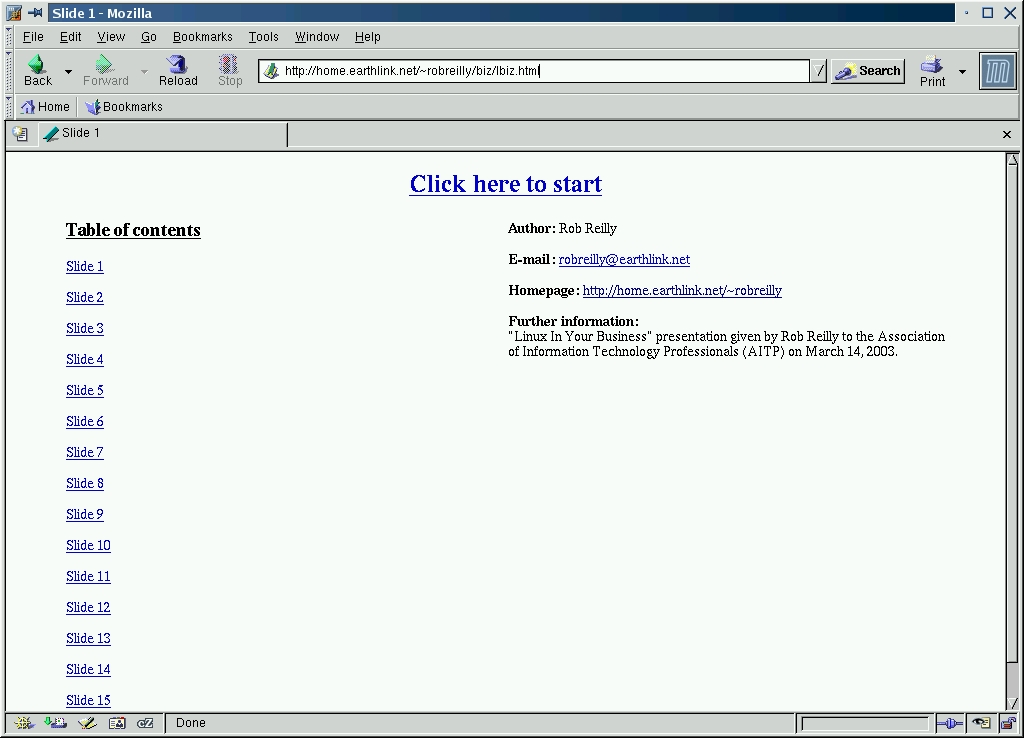
Figure 4. The main Web title page includes links to other relevant information.
To look at your handiwork, go to the working directory and open the HTML file that you named when you first exported your presentation (Slide 1 example—see Figure 5).
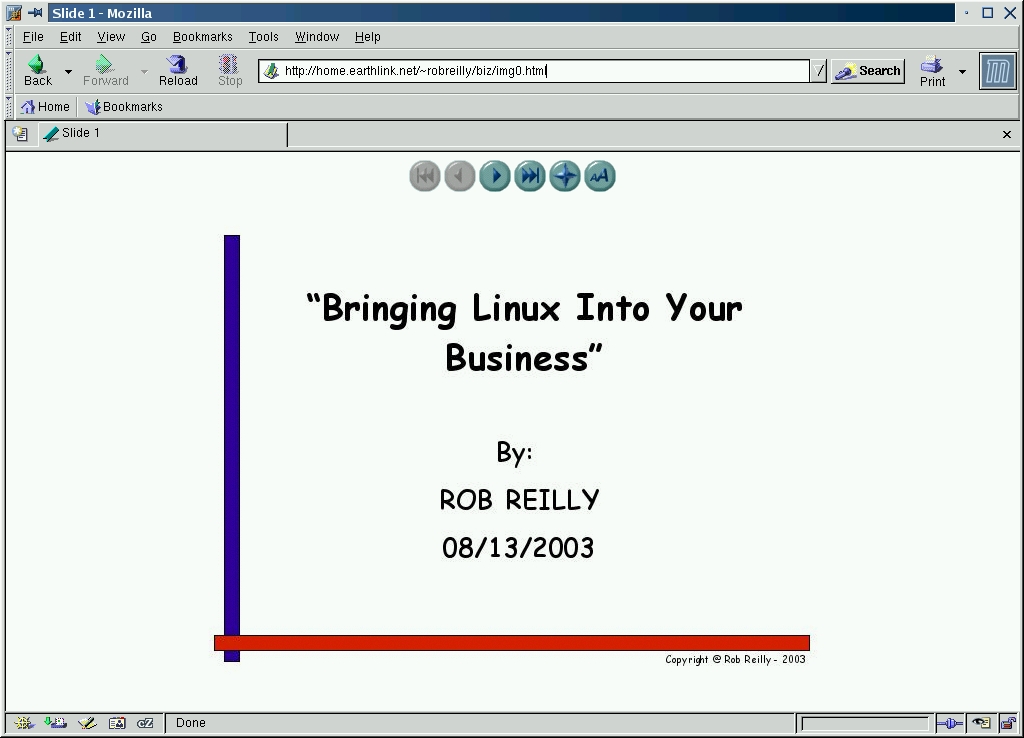
Figure 5. Previewing the Web Version in a Browser
Once you're satisfied with the look of the Web pages, upload the whole directory—don't forget your original presentation or .sxi file—to your main Web site. Add a descriptive link to it from your main page and then give the URL to your audience. Check the presentation pages on your Web site after uploading, of course, to make sure everything is there and correct.
There are two pre-presentation tasks that you must do to ensure a great presentation. You are going to be in front of people because you are the subject-matter expert, but relax and have fun as an entertainer—make it enjoyable. Second, end your presentation with a call for action, something like “Now go try Impress”, instead of simply saying “thank you” and smiling at all that thunderous applause.
Unless you are an extremely experienced speaker, do a full rehearsal at least twice before doing your live talk. By rehearsal, I mean set up a room, your laptop, the projector and go through the whole presentation in real time. Don't be afraid to use a stopwatch, as you need to be absolutely sure you can fit your presentation into the allotted time. You probably will have some editing to do. The best idea is to start putting your show together as soon as you get the assignment. Nothing messes up a show as much as going overtime or not covering all your material. Plan for contingencies; for example, if the previous speaker went long, what will you do?
Also, arrive early at your venue to set up the equipment and room the way you want them, and ask the event staff to help you. Test your laptop with the projector at the venue before the presentation. Finally, pack everything you think you might need, including transparencies and extension cords, just in case.
Rob Reilly (robreilly@earthlink.net) is a technology writer and speaker whose articles appear in LinuxToday.com and PC Update magazine. His “Impress-ive Presentations” seminar covers OpenOffice.org Impress and technical speaking in greater detail. Visit his Web site at home.earthlink.net/~robreilly.
