
Yellow Dog Linux on the iMac
First, a disclaimer: I'm not a fanatic Macintosh guy. I got a Macintosh late in my computing career, just last year in fact—an iMac. I was working on a cross-platform Tcl/Tk project, and I was getting pretty involved in fine-tuning the GUI for Mac OS, Windows and Linux. I decided it was too much to rely on feedback from the users, so I opted to buy a cheap Mac on which to test the application. I ended up with one of the Revision B iMacs, which is a decent machine, and my wife likes it too.
Well, wouldn't you know it: I soon discovered that folks were running Linux on these things, so I just had to try that out. Linux on a Mac has now come of age, with about half-dozen vendors offering distributions for PowerPC processors.
Yellow Dog Linux is one of these vendors, and they offer a number of packages targeted at different levels of usage. Champion Server is just like the name sounds: a package targeted for server applications, but it also works well as an individual workstation. Yellow Dog also has a Gone Home edition in the works, originally targeted for home users, but now their vision has changed and Yellow Dog says Gone Home will be “a revolution in the way Linux is installed and experienced”.
Yellow Dog Linux put much thought into the packaging of their product, offering anything from plain CDs to binders to a full nylon zippered notebook sporting the Yellow Dog “Labrador” logo. The package Linux Journal gave me to evaluate was the zippered notebook (see Figure 1), which also included some Yellow Dog bumper stickers to help you show the world you're an avid Yellow Dog fan. Both bound versions have the CDs in plastic jackets in the notebook and a nicely done manual. If you opt to go the download route, YDL offers image files of the install CDs on their web site and mirrors. (Do yourself a favor, though, and buy a CD, or go in with a group to buy a set and burn your own copies. It's not that much money ($24.95 US), and you won't be consuming the bandwidth for that 700MB download.) There are three CDs total: the “Install”, “Source” and a “Tasty Morsels” CD. Tasty Morsels contains additional games and applications, including some that do not fall under the GNU license. It also contains KDE2 and the Linux 2.3.49 source tree. Interesting to me was pcb, a basic printed circuit-board layout program, because I am a printed circuit-board designer.

Figure 1. Yellow Dog Package
Champion Server, like many distributions these days, is based on Red Hat Linux, using RPMs and the text-based Red Hat installer. To begin the install, insert the install CD in your CD drive with the power off, then power up the system holding down the “C” key, and you will be presented with a yaboot prompt. yaboot is a boot loader along the lines of the familiar LILO on x86 machines. At the prompt, type install and soon you will see the ever-present Tux and the Red Hat text-mode installer. There is no mouse at this point, so use the arrow keys, TAB and space bar to select and acknowledge the prompts. You are asked to select a language and keyboard type, which defaulted to English and mac-us-std, respectively, for me. You are then prompted for the installation media (CD-ROM for me).
The iMac uses USB (universal serial bus) for all its peripherals, including the keyboard, so the first thing you need to do is identify the keyboard and language so you'll be able to use the keyboard during the install. I had a problem with this—my keyboard worked at the yaboot level, but not in the Red Hat installer. After some trial and error, I found that putting my Belkin Hub on the USB chain was the root of the problem, and my keyboard worked after removing the hub. (USB is still a little shaky, in my opinion. Half the time, my mouse does not work in Mac OS until I unplug/replug it in.)
The first thing you must do is set up your partition table. The installer takes you into this step, offering to use either disk-druid or pdisk. I believe pdisk is the only true option for a Mac OS-partitioned drive, so this is your best bet. pdisk is much like fdisk for Intel Linux, a text-based program where you use letter commands to create and name your partitions of various types. I opted to create a single Linux partition of about 1.4GB and a 20MB swap partition, because I had another working Champion Server setup that I wasn't ready to sacrifice just yet. In many cases, it's a good idea to create separate partitions for /, /var, /usr and /home. If you want to upgrade later, you can then opt to leave /home alone and reformat the other partitions and still retain your personal files and settings. It's important to remember to reboot after setting up and writing the partition table to ensure the changes take effect. I've seen a number of people encounter problems (not just with Champion Server) when they did not reboot. The install appears to go fine, although very quickly; yet upon booting, they find many things missing or not functioning properly. (It would be nice if the installer gave you a graceful way to reboot, rather than having to press CRTL-OPT-POWER. It would also be nice if, after the reboot, the installer could resume where it left off.) One thing I should mention is that the prompts show fdisk, but you are actually using pdisk. If you have already set up Linux partitions, as I did, you can skip the reboot.
I should also mention most Linux vendors recommend you do a clean install, not an upgrade to your existing install. If you have a separate /home partition where you keep your personal files, they will be kept during the install, provided you don't format that partition. Many people have a lot of problems trying to upgrade a Linux system. The safe bet is to make a full backup and start clean, then pull the things you need from your backup. You may find you don't miss much from your old installation.
The installer gives you a default set of packages to install that is fairly complete, and you can fine-tune this by category and individual package. If you attempt to install a package that depends on another, the installer will warn you and offer to install the necessary packages. I hand-picked what I installed, giving myself enough to get a feel for what the distribution had to offer, but omitting some pieces due to my limited partition size.
The installer takes a few minutes to install the packages, then detects your mouse, letting you fine-tune the selection, and then offers to set up networking. I have a network setup at home with my primary box running Linux serving as a server/Internet gateway for the rest of the network. I assigned a fixed IP address to the iMac, the same as used in Mac OS, and set up the main box as the gateway, with DNS addresses for my ISP. The installer then asks you to choose your time zone, which it also correctly detected as US/Eastern for me. You are also given a list of dæmons/processes to start automatically at boot, and you can enable or disable them as you see fit. (These are programs such as Apache, Sendmail and NFS.)
Next, you are asked if you would like to configure printing. Again, my printers are all networked and power-controlled by X10 controllers from the server. I opted to pass print jobs through this queue.
You have the opportunity at this point of setting the root password and choosing whether to use shadow passwords. You are then instructed on which partition you should enter in BootX, and the installer goes on to identify your video card.
The proper X server is configured. A message tells you to start X on your new system using startx, and if you have problems, to run Xconfigurator.
You are then congratulated on your install, and the system reboots.
Running Linux on a Macintosh is a little different than with Intel. On the Intel side, most folks use LILO. On the Mac, the boot loader of choice used to be BootX, but now yaboot is also available.
BootX runs under MacOS and can be set up as an extension, so like LILO, you are offered the choice of booting MacOS or Linux. Unlike LILO, you are already well into the MacOS boot-up GUI before you get the opportunity to choose Linux, although you do have a nifty graphical screen, allowing you to enter some options that control the boot process (see Figure 2).

Figure 2. BootX Screen
yaboot works at a lower level, more like LILO, giving you a boot prompt at power-up. The Champion Server documentation steps you through the setup for both of these programs, with special notes as to options for the various Mac hardware platforms.
While I'm on the subject of documentation, let me take a moment to comment on the Yellow Dog manual. Although only a loose-leaf three-hole package, it is very well done with clear instructions covering the full install. As mentioned above, it also lists special considerations for the various Mac/PPC hardware platforms. They also have a FAQ area on their web site (see Figure 4) and the usual mailing lists, monitored by YDL staff. Questions are answered fairly quickly.
Figure 4. YDL Web Site
I started using Linux on the PPC with another distribution, and had considerable trouble getting basic things like the keyboard, video and mouse, which I had taken for granted on Intel, to work. Setting up X can sometimes be a true challenge on the PPC, and since the Mac has no text mode, you can end up in a situation where you don't even have a visible command prompt. YDL wisely opted to boot the system in run level 3 with only the command prompt, so you can set up and test your X configuration before committing to booting straight into X with run level 5.
I already had a BootX setup from my old install and chose to keep it. Older iMacs have an ATI Mach64 video card, and Yellow Dog recommends adding the stanza video=atyfb:vmode:17 to your kernel arguments and unchecking the “No Video Driver” option. I also have a non-standard iProRaidTV SCSI card/TV tuner installed in the mezzanine slot of my Revision B iMac, so I have an additional ncr53c8xx=safe:y option to force the card to wait for the SCSI bus to settle during the boot process. This also disables some of the advanced features of the card, but it does work—usually.
For BootX, take a copy of the Linux kernel (vmlinux—PPC does not use compressed kernel images) and put it in your system folder or the kernel folder under your BootX install. I generally use the system folder along with the BootX extension, so I can go right into Linux early in the Mac OS boot process.
I ran the BootX program, checked my kernel parameters and pressed the “Linux” button. The Mac OS screen changed to a black screen with the ever-present Tux in the upper-right-hand corner, and I observed the normal stream of boot messages identifying and configuring my hardware—until it hit the iProRaid card. At this point, I ended up in a somewhat familiar endless loop of SCSI resets and was forced to power down the machine to get out. YDL apparently uses the sym53c8xx SCSI driver in their stock kernel, and it did not recognize my “safe” kernel parameter. (Both of these drivers are very similar, as I believe Symbios bought the old NCR chipset technology. The NCR/Symbios cards are very popular and inexpensive; I've got three of them in various Intel machines.) I tried replacing ncr with sym in my kernel arguments, as well as sym53c875=0, but nothing seemed to stop that endless SCSI bus reset.
But all was not lost. I've got my own home-compiled 2.2.14 kernel with the NCR driver, as well as modules for the video portion of the card, so I used it instead, and soon I was up and running, looking at the root login prompt. Although an annoyance for me, I do realize my machine is non-standard, and if it weren't for the iProRaid card, I would have been up and running much sooner. What would be nice is being offered both a monolithic kernel and a modular one, with a choice of modules to install.
First, I tried startx with the default settings, but all I got was my monitor in standby mode and had to CTRL-COMMAND-BACKSPACE to get out.
In the old days of Linux, you had to either edit your XF86Config file by hand or find someone on the Net with the same video card as you who had already done so. Today, some nice tools can get you set up in X fairly quickly. Xautoconfig runs from the command line, and oddly enough, silently creates an appropriate XF86Config file based on your hardware. (If it seems like nothing happens, it worked. If you get a message of any sort, it probably didn't.) Xconfigurator is a text menu-based configuration tool, and the choices included the integrated video card and monitor of the iMac, as well as an appropriate choice for my three-button USB wheel mouse. I chose a 1024x768x16bpp setup, as I knew from previous experience that 32bpp has some issues in the latest fbdev X driver.
Now for the defining moment. I type startx -- -bpp 16 and I get the blue desktop and the X cursor, then back to the command prompt. I try again with bpp 15, and I go straight into X with a default KDE desktop. There are some snappy YDL links on the desktop leading to the YDL web site for documentation and updates. Another minor annoyance is the “Home” link generates an error that says “config file has no `Type=...' line”. The “Support” link does launch Netscape and triggers my demand-dialing connection on the server and takes me to Yellow Dog's support page—yay, networking works! (See Figure 3.)

Figure 3. YDL Support Page
Window motion is smooth, and no artifacts are generated while dragging windows on the desktop. It appears I have accelerated video. I pulled up the KDE control panel and played around a bit with the various settings. Things look typical here, with the requisite lists of themes, colors and window manager options. The included X server has support for DPMS, which has been wanting on the iMac. It seemed to work fine in testing. I tried enabling the system sounds in the control panel, but all I got is one “eep”, then nothing until I restarted X. (I also knew in advance that sound has been an ongoing problem for Mac users. My previous install has working sound only when I go right into Linux at boot. If I do something in Mac OS first, no sound.)
My reading on the mailing lists indicates that esd is the best working sound server for PPC, so I launch “switchdesk”, change my desktop environment to GNOME and restart X. GNOME now comes configured to use sawmill, rather than Enlightenment, but there is an option in the GNOME Toolbox to change to Enlightenment. (Watch it here, because it says Enlightenment is the current window manager. I actually had to select sawmill, save the changes, then select Enlightenment to make it take. See Figure 5.) I do this, enable system sounds and set up my preferred desktop theme, colors, etc., then shut down and restart X. I've got system sounds and am greeted by a female voice welcoming me to Enlightenment (see Figure 6). I pop in my favorite David Torn CD and run the GNOME CD player applet, and I'm one happy camper. One annoyance is that restarting X seems to place the blue desktop background over my chosen pattern until I reset it. I found I had to go into GNOME's settings rather than Enlightenment's to turn the blue background off.
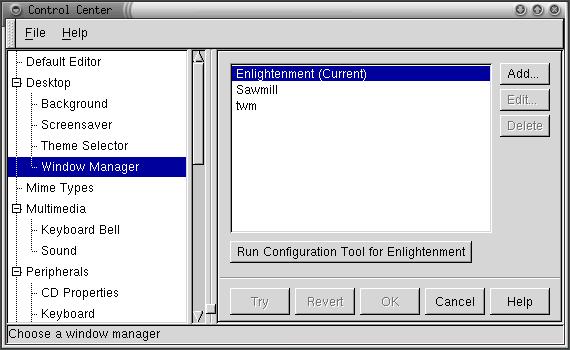
Figure 5. GNOME Control Center

Figure 6. Enlightenment Screen
The install process asked me about my local Ethernet configuration, so I assigned the domain name, machine name and fixed IP address I use for this machine. After rebooting, my Ethernet connection was fine, and I edited the /etc/hosts file to identify the other machines on my network by name. I could use TELNET, rsh, FTP, etc. to get to my main server. By default, incoming TELNET and FTP are disabled, which is a good thing, especially if you are going to be connected to the Internet.
For PPP, I used the Red Hat Internet Configuration tool, assigning the proper phone number, domain name and DNS information for my ISP. I was able to connect on the first try. This area of Linux has definitely improved for the first-time user. No more editing PPP configuration files and dial-up scripts by hand. The usual assortment of Internet applications are installed including Pine, Netscape, slrn (this failed, with a library error), Kmail, xchat, archie and ncftp (see Figures 7 and 8).
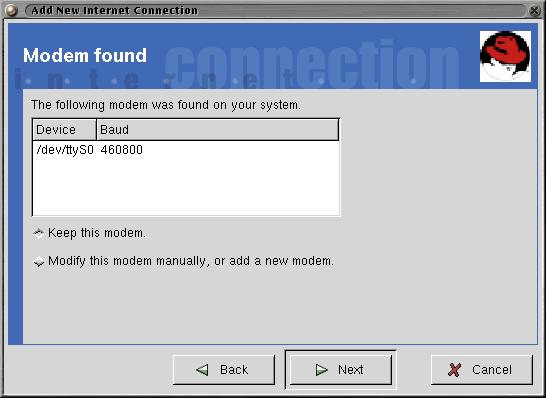
Figure 7

Figure 8
I don't have a printer hard-wired to the Macintosh. Since I have so many machines, I've opted to move my printers to a print server that hangs on the network. The printtool setup gives options for setting up the printers, and an option is included for a remote host. I have two printers, an NEC Silentwriter95 (PostScript) and an HP DeskJet 693C. PostScript and ACSII printing worked fine on both.
YDL comes with the standard set of Linux applications. For the office worker or student, you have Abiword and Gnumeric for your word processor/spreadsheet combination. Not as full-featured as some of the commercial applications, but certainly capable of creating and printing a basic document. I did get an error related to gnome-print when running Gnumeric, but after re-installing the gnome-print RPM, the problem went away. Both applications printed fine. The GIMP is included for manipulating graphics files, as well as Electric Eyes. A number of games are also included. One I found particularly entertaining is Xboing, a spin on the old “Breakout” game with some slick effects and sound (unfortunately, the sound was a bit distorted on the iMac).
MOL stands for Mac-On-Linux and it is a wonderful contribution to PPC Linux, authored by Samuel Rydh. It can be run as a window in X or in console mode using fbdev (the frame buffer), and it allows you to use your existing Mac OS partition and applications from within Linux. Sound doesn't work, but you can set up a networking interface to access files and the Internet from MOL. I've used MOL before on my CS1.1 installation, and it worked quite well. For whatever reason, MOL on CS1.2 starts up but never finishes the boot process. I get a number of messages referring to an unsupported resource in the console from which it is launched. Thinking it may be an issue with the 2.2.14 kernel I'm using, I uninstalled the stock MOL and grabbed my copy from the other partition. It also failed, but with a different error. Looks like this one needs a little work. Again, it's most likely due to my being unable to use YDL's kernel (see Figure 9).
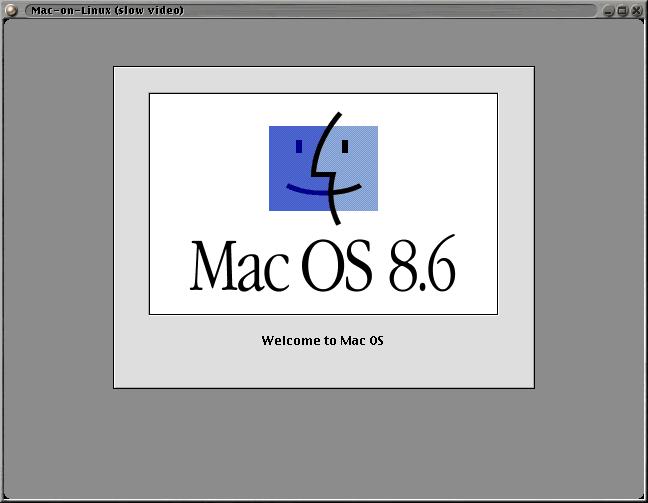
Figure 9. Mac-on-Linux
YUP stands for Yellow Dog Update Tool. It takes the RPM concept to the next level, querying an external network of databases to download and upgrade your software packages on demand, including itself, when necessary. From what I read on the mailing lists, there were some initial problems with YUP and it went through several rapid revisions, but in concept, it sounds like a neat tool. If you run yup update, it will go out and find the newest versions of your software on the Internet and update things for you. I prefer to control when and what I update, but for inexperienced users, this could be a nice option.
Linux, and in particular Linux on PPC, has come a long way. Yellow Dog Linux Champion Server 1.2 is a very good package. I did hit a couple of rough spots that may have stumped a first-time user, but fortunately, I have the experience to work around them. Were it not for my non-standard SCSI card in the iMac, things may have gone much smoother. In the end I had a very usable Linux system, not unlike what I use on x86 boxes (see Figure 10). I have used LinuxPPC and had even more problems with it before I went to Yellow Dog; however, that may have changed with LinuxPPC's newest release. Many resources are available on the Net, including mailing lists from both distributions as well as the mailing list/web site that I help maintain: http://www.imaclinux.net/. If you've got a Mac and would like to give Linux a try, now is the time. With MOL, you can now have the best of both worlds! If you do decide to give Linux on PPC a try and get stuck, I'd be happy to help where I can; drop me a line.
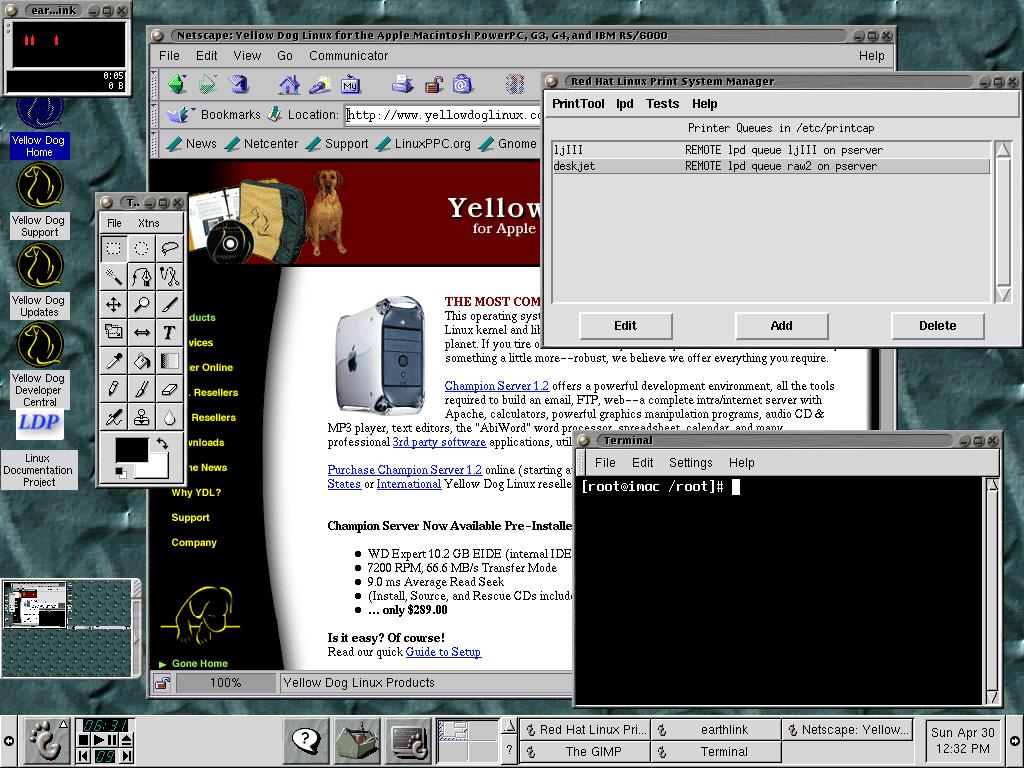
Figure 10. YDL GNOME Desktop

