
Creating a Lulu Book Cover with Pixel
Last month, I dove into LyX, a graphical LaTeX typesetting program for Linux. Because LyX produces commercial quality documents, it's an ideal match for the Lulu.com self-publishing Web site.
I'm reasonably certain most authors send material that comes from a standard word-processing program, such as Microsoft Word. Look back at the article in the December 2006 issue of LJ where I show you some output between a word processor and LyX to see what a difference it makes for your final product.
This time, I finish our book publishing tutorial. Publishing to Lulu.com is a two-step process. First, you need to upload your finished text files to Lulu. Then, you need to design a cover for the final product.
After Lulu accepts your text file, it asks you to format or upload a cover for the book. You have two choices: use one of Lulu's predesigned cover backgrounds, or upload a custom book cover that you created.
The sample book covers Lulu provides vary and may suit your publication just fine. If you decide to use one of those, the on-line system will help you add text to the image. Lulu's on-line program will place the author, ISBN and copyright notice for you as well. However, creating a book cover yourself is a great opportunity to examine Pixel.
In my estimation, Pixel is not a direct competitor of The GIMP. Pixel is a commercially produced application that runs on many operating systems. The Pixel Web site (www.kanzelsberger.com/pixel) notes at least six different operating systems, including Linux, Windows and Mac OS X.
By its own description, Pixel seems suited for advanced graphic artists. In fact, the first non-beta version of Pixel should include Photoshop plugins and .psd import and export. See www.kanzelsberger.com/pixel/?page_id=60 for more details and a list of features for the next release.
Pixel is not free. It is available as a demonstration software package, and users can buy a license for $32 US. This fee includes unlimited support and all updates until the next major release.
The demonstration copy does have a significant drawback. Any image created with Pixel contains a Pixel watermark. There is also a small “nag” screen reminding you to buy the product to get full use of the software. So, you can't use any graphics produced with the demo version.
I don't find this objectionable. Pixel's author intends to steer the software to compete with the leaders in the graphics industry. Although the expected version 1 price is around $100 US, it's still less than the competition. I like competition; it helps keep prices down.
Because Pixel is not open source or free, it's not likely you will find it in a major distribution's repository. So, download a demo copy from www.kanzelsberger.com/pixel/?page_id=4. Installation is straightforward. Download the Linux .tar file, unpack it and click on the file to start program installation. Follow the instructions on-screen to finish the setup.
Once complete, start Pixel from the command line or your system menu, and the home screen appears (Figure 1). At first impression, Pixel looks similar to other top-line commercial software. It's also different from The GIMP, because it covers your entire screen. In addition, many tools are in full view by default (Figure 2).
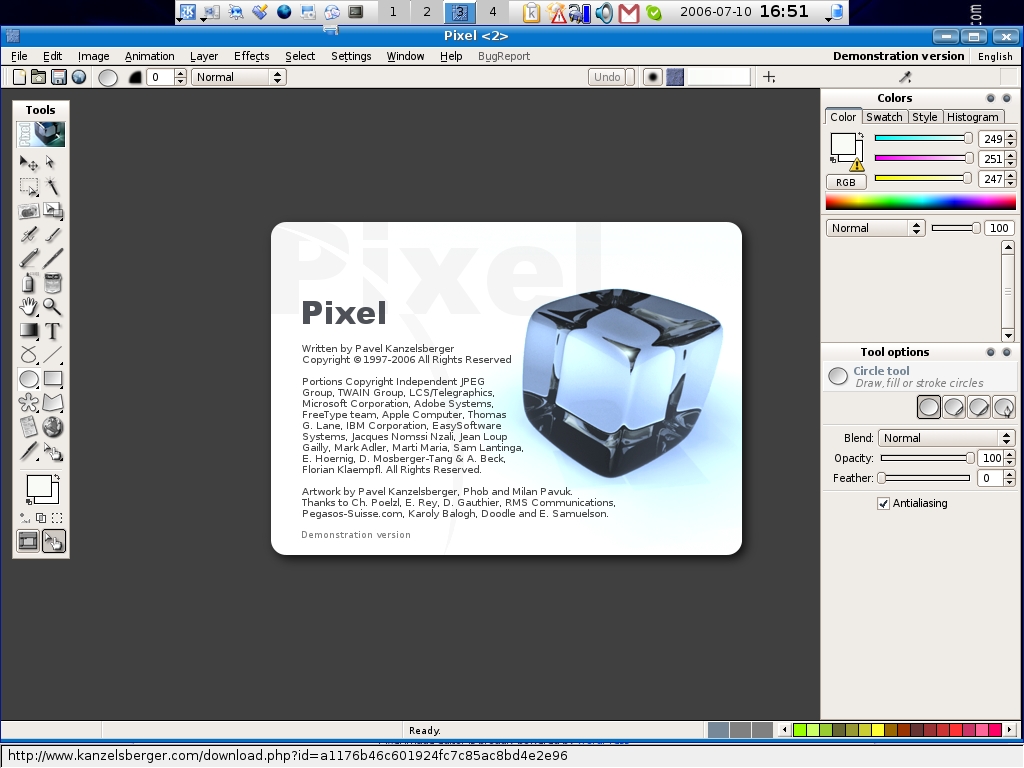
Figure 1. The Home Base of Pixel

Figure 2. Multiple Toolboxes Default on the Screen
The screen layout is clean. Some of the icons are a bit troublesome to identify due to their size. But, trying to find hundreds of unique pictures for tools must be challenging for any programmer.
Now you're ready to begin. Because Pixel is still in beta release, documentation is scarce. In March 2006, the Pixel support forum explained that no documentation is ready as the focus is on product development. There is a help system available by pressing F1 (Figure 3), but currently no embedded tutorial exists. Even without much documentation, Pixel's layout is somewhat intuitive. If you know Adobe Photoshop, you're in luck—it's nearly the same.

Figure 3. Press F1 for the help assistant.
To review, in the last article we uploaded our sample text document in .pdf format to the Lulu Web site. Now, we need to create our custom cover. With Lulu, you can upload two different images, one for the front and one for the back. Or, you can design your own wrap-around cover, including the spine.
I chose to upload two different images for this tutorial. Wrap-around images look nice, but making one for an 8.5 x 11 book requires 1242 x 810 PostScript points. At 300 dpi, a file in Pixel can be large and difficult to manipulate.
Lulu's standards for an 8.5 x 11 book cover are 2663 x 3525 pixels and no less than 300 dpi. In Pixel, go to File→New, and a creation box opens (Figure 4). Enter the dimensions as shown in the example. In the lower-right corner, you will see the memory requirements for this file are 35.8MB. Press OK, and Pixel creates a blank document template (Figure 5). Now you have a blank page to create your cover art.

Figure 4. New File Creation Box
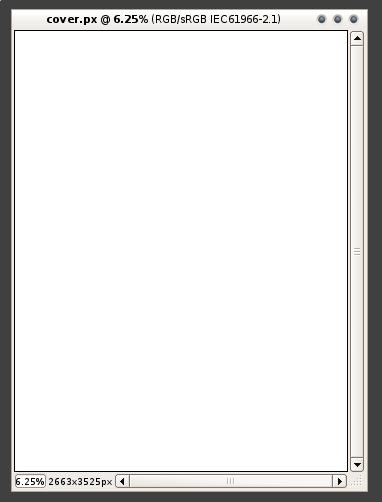
Figure 5. The 8.5 x 11 Background for the Cover
To keep artwork simple for the tutorial, use your mouse to change the foreground color as shown in Figure 6. Pixel opens a color chooser for you to select nearly any shade you want (Figure 7). Choose your colors wisely. Not all will transfer into the shade you expect during printing. You should consider using a color management system if you have specific needs.

Figure 6. Selecting Colors for the Book Cover

Figure 7. Pixel's Custom Color Picker
Next, I decided to use Gradient G to spice up the background of the cover. Use your mouse to select the gradient button on the left of your screen (Figure 8). Drag your mouse by pressing the left-mouse button from the top of your cover to the bottom. This tells Pixel which direction to draw the gradient (Figure 9). I mentioned earlier that Pixel's operation is intuitive. When you select the gradient button, look to the bottom right of the screen; the program gives you hints on how to use the feature or effect (Figure 10).

Figure 8. Select the Gradient Tool
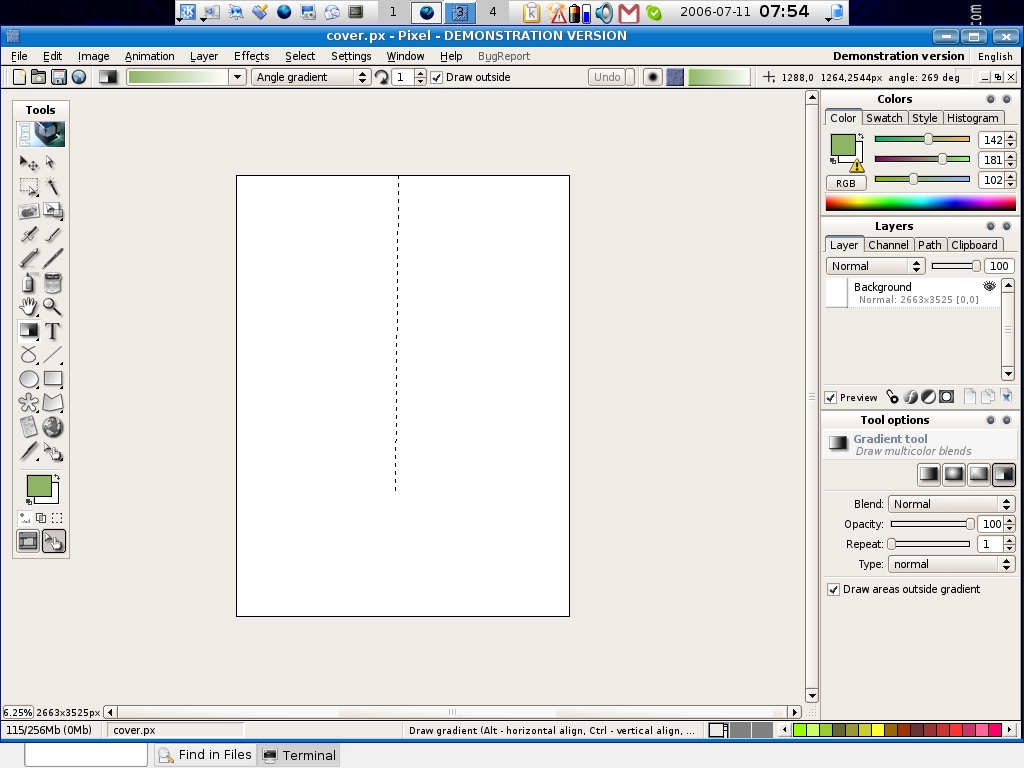
Figure 9. Drag your mouse to tell Pixel the direction of the gradient.

Figure 10. Pixel's Help Assistant
After the screen updates, you should have a sample cover that looks similar to the one shown in Figure 11.

Figure 11. How Gradient G looks after screen refresh.
Because a blank cover won't do much good on the bookshelf, we need to add text. Adding text is similar to adding color and gradients.
Use your mouse to select the text button (Figure 12). Position your cursor over any area on the working cover and use it to expand the text box. When complete, type and format the text for the cover (Figure 13). After typing the text, use the character controls in the bottom right-hand side of the screen to adjust any preferences with the text.

Figure 12. Select the Text Tool

Figure 13. Entering Text with the Text Box
At this point, you can add other colors, images or just about anything else you like for the cover art.
When complete, go to File→Save As. Name your cover, and use the drop-down file-type list to choose .jpg. Pixel will prompt for further characteristics of the JPEG file. The default settings are acceptable for the tutorial.
My test book cover is shown in Figure 14. Log in to your Lulu.com account and upload your completed book cover into the system. This completes the design for your front cover.

Figure 14. Sample Book Cover
For the back cover, I decided to use a solid black background. Lulu provides a sample black background for you to use. Simply use the on-line tools to “Choose Gallery Image”. Lulu adds the cover into your publishing project. Select Save and Continue.
Lulu provides a snapshot of your final book cover in your Publishing section of the Web site. My final cover is shown in Figure 15. Watch the trim marks. Be careful that no important graphic or text is beyond the cutting line. Once you accept the cover design, it's easy to price your final publication and order a proofreading copy.
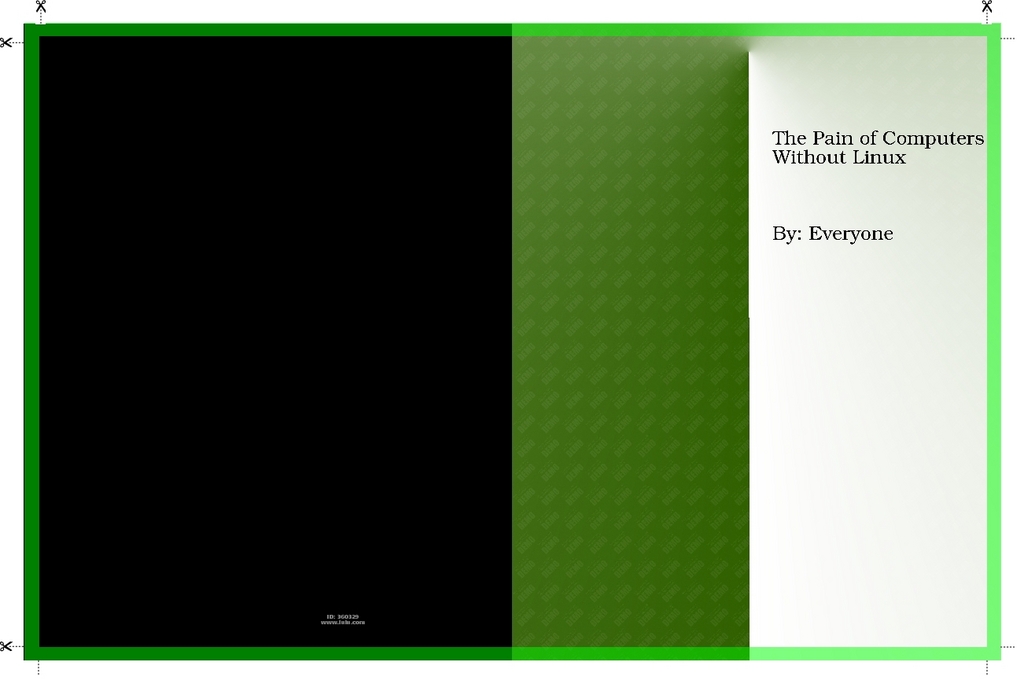
Figure 15. Lulu Cover Proof with Trim Marks
My first article described the benefits of quality text formats by using LyX to get typesetting output for your publication. Now we have completed the project by making a book cover and getting to the final proofreading stage with Lulu.com.
Using Pixel as a graphical editing package may cause some frustrations if you are a longtime GIMP user—not that Pixel can't match up to GIMP. Quite the contrary, Pixel targets a high-end graphical artist environment; however, it takes some time to become familiar with how to use the software.
Using Lulu.com, nearly anyone with the itch to write a book or magazine can create professional printed media. Using LyX and Pixel as tools for high-quality output may be the ideal combination for report and book formats. Scribus may better fit publications, such as magazines and newsletters. Lulu can print many types of documents—even calendars.
LyX is open source, and it appears to have support for further development as a GUI LaTeX editing package. On the other hand, Pixel is proprietary, and it seems its maintenance and development credit a small cadre of programmers, with Pavel Kanzelsberger as the leader. Other research on the Internet describes Mr Kanzelsberger as the only developer, yet the information screen of Pixel gives kudos to others. So, it might be a little risky to become too involved in Pixel until it matures a little more. I don't think you will need to wait long; the final release is expected soon.
Pixel is sharp. The likeness to Adobe Photoshop is sure to win the attention of graphic artists. I think it's safe to spend $32 US for the current version and look toward a final product in the next few months.
Donald Emmack is Managing Partner of The IntelliGents & Co. He works extensively as a writer and business consultant in North America. You can reach him at donald@theintelligents.com or by cruising the 2 meter amateur RF bands in the Midwest.
