
QEMU: a Multihost, Multitarget Emulator
A few months ago, I suddenly found myself with an I-need-to-run-just-one-Windows-application problem. When I had started at my current job, I was determined finally to be Windows-free at work, just like I have been at home for several years. To that end, after I had unpacked my shiny new work computer, I erased Windows, installed my current favorite Linux distribution, and set up Ximian Evolution to connect to the Microsoft Exchange server. I thought that I had finally arrived at Linux nirvana.
It was not to be.
Microsoft's Exchange mail server has this feature where a team, or group of people, can access a shared mailbox. My manager thought it would be a good idea to set up one for our team and have clients send e-mail to that address instead of to each of us individually. With the shared inbox in place, I found myself needing to check it several times a day.
Evolution can connect to shared mailboxes, but not in the way I have to connect to mine. My department, being Linux-friendly and security-conscious, is not on the corporate network, so those who are on Windows-based systems in my department need to configure their Outlook e-mail client to connect to the Exchange server over HTTP. Evolution seems to support connecting to shared mailboxes only when you are on the same network as the Exchange server, not via the HTTP method.
There was no way around it. I had to run Outlook. And not just any version. I had to run Outlook 2003, which is the version that can use the HTTP-connection method. The problem with Outlook 2003 that older versions of Outlook do not have is that it is not compatible with Wine or CrossOver Office from CodeWeavers, which ruled out what I considered to be the obvious first-choice solution for running it on Linux.
My options were therefore:
Go back to using Windows.
Find another way to run Outlook 2003.
I did not want to go back to using Windows, not for only one application, so I started looking around for answers to the other option. My requirements were simple: it had to be able to run Outlook 2003, it had to be cheap, it had to be usable and it had to be reliable—no crashing. VMware is an obvious choice for this sort of thing, but as I was footing the bill myself, VMware was not an option. After a little bit of searching, I found an excellent VMware alternative: QEMU.
According to its home page: “QEMU is a FAST! processor emulator using dynamic translation to achieve good emulation speed.”
QEMU is a multihost, multitarget emulator. QEMU will run on x86, x86-64 and PowerPC systems, and it can emulate x86, x86-64, ARM, SPARC, PowerPC and MIPS architectures. For most of these, it can be run in two ways: full-system emulation and user-mode emulation. For details on which modes are supported for which architectures, check out the link in the on-line Resources.
User-mode emulation allows you to run Linux binaries compiled for other architectures on your machine. This is great for application development and testing, but I was more interested in full-system emulation.
Full-system emulation emulates a complete computer system from the BIOS on up to things like video and sound cards. For x86 system emulation, QEMU simulates a machine with the following peripherals:
i440FX host PCI bridge and PIIX3 PCI to ISA bridge.
Cirrus CLGD 5446 PCI VGA card or dummy VGA card with Bochs VESA extensions (hardware level, including all nonstandard modes).
PS/2 mouse and keyboard.
Two PCI IDE interfaces with hard disk and CD-ROM support.
Floppy disk.
NE2000 PCI network adapters.
Serial ports.
SoundBlaster 16 card.
PC BIOS from the Bochs Project.
Plex86/Bochs LGPL VGA BIOS.
From the above list, you probably can tell that QEMU is not in contention as the Ultimate Linux Box. However, each of the emulated devices is well supported by Linux and Windows, which leads to easy Virtual Machine (VM) installs and no driver hunting, which is a “Very Good Thing”.
Being on an x86-based machine myself and not needing to run an OS that requires or even uses an x86-64, ARM, SPARC, PowerPC or MIPS processor, I can't vouch for QEMU's performance in that regard. I have tested some disk images of DebianPPC, Gentoo for SPARC and MenuetOS_64, which is written in x86-64 assembly language. They all booted and ran without trouble, but I was not able to compare their performance to real hardware. These, and many other QEMU-ready disk images, are available from the FreeOS Zoo (see Resources).
My purpose in using QEMU was to run an x86-based OS—Microsoft's Windows XP—inside my x86-based OS of choice, which is currently Ubuntu Linux 5.10. The good thing about this particular setup is that QEMU can employ a virtualization layer, called the KQEMU accelerator, on top of its standard emulation engine that speeds things up to what the QEMU Web site claims are “near native speeds”. Near native or not, I can say this, with the KQEMU accelerator installed, things are definitely faster.
The accelerator hands off as much processing as it can to the real processor and emulates only the necessary bits. This makes perfect sense. Why emulate x86 on x86? If there are good reasons to do so, I cannot think of any.
To install QEMU, download the source package from the main QEMU Web site (see Resources) and the binary kqemu package. There is also a binary QEMU package available. If you download and install the binary, you will not be able to use KQEMU, because it needs to be compiled into QEMU to work. KQEMU, unlike QEMU, is available only as a binary package. It is not open source. See the KQEMU sidebar for more information. At the time of this writing, QEMU is at version 0.8.0, and KQEMU is at version 0.7.2. Because they are under active development, there may be updated versions available by the time you read this.
Once I had downloaded the two packages, I first untarred QEMU with:
tar -zxvf qemu-0.8.0.tar.gz
Next, I changed directories into the qemu-0.8.0 directory I had just created and did:
tar -zxvf ../path/to/kqemu-0.7.2.tar.gz
This created a kqemu directory inside of my qemu-0.8.0 directory.
When I compile applications from source, a ./configure, make, make install at this point is usually all that I need to do to get a piece of software installed. QEMU needed a bit more hand holding.
In order to have QEMU compile successfully on my machine, I had to make a few changes to the configure script. The changes themselves were quite simple. First, QEMU does not get along with 4.x versions of gcc, so I had to change the cc= and host_cc= lines to use gcc-3.4 specifically. Then, I had to change kqemu="no" to kqemu="yes". Finally, it was necessary to enter the path to my kernel source tree in kernel_path="". One note: QEMU uses SDL for output, so although I did not need to install anything extra for my particular setup, others may have to install some SDL libraries before the configure script will be happy.
Once I was able to run ./configure without it complaining, I ran make and then make install to install QEMU to my /usr/local/ directory. To install the KQEMU accelerator kernel module, I typed the following into an open terminal:
modprobe kqemu
About KQEMU
Unlike QEMU, which is open source, KQEMU is a closed-source, proprietary product. The reason for this is money. QEMU developer Fabrice Bellard has stated that he would be willing to open-source KQEMU on one condition: if a corporate sponsor picked up the tab for its continued development. Until then, although you can download it without cost, KQEMU will remain a proprietary component in an otherwise open-source product.
There is a project to create an open-source drop-in replacement to KQEMU called qvm86 (see Resources). I have not used it, but I have read statements that say it works as well as or better than KQEMU.
Once I had installed QEMU, I wanted to see it in action. The easiest way to try it out was to boot a live CD ISO image like KNOPPIX, Ubuntu, SimplyMepis, DSL, Puppy or one of the scores of others. To boot QEMU off a bootable CD image, I simply entered the following at the command line:
qemu -boot d -cdrom path/to/distro.iso
The -boot d parameter tells QEMU to boot from the CD drive, and -cdrom path/to/distro.iso tells QEMU where the CD-ROM “drive” is, which in this example, is simply an ISO image. I also could have pointed QEMU at my actual CD-ROM drive—/dev/cdrom—and when I installed Windows, that is what I did.
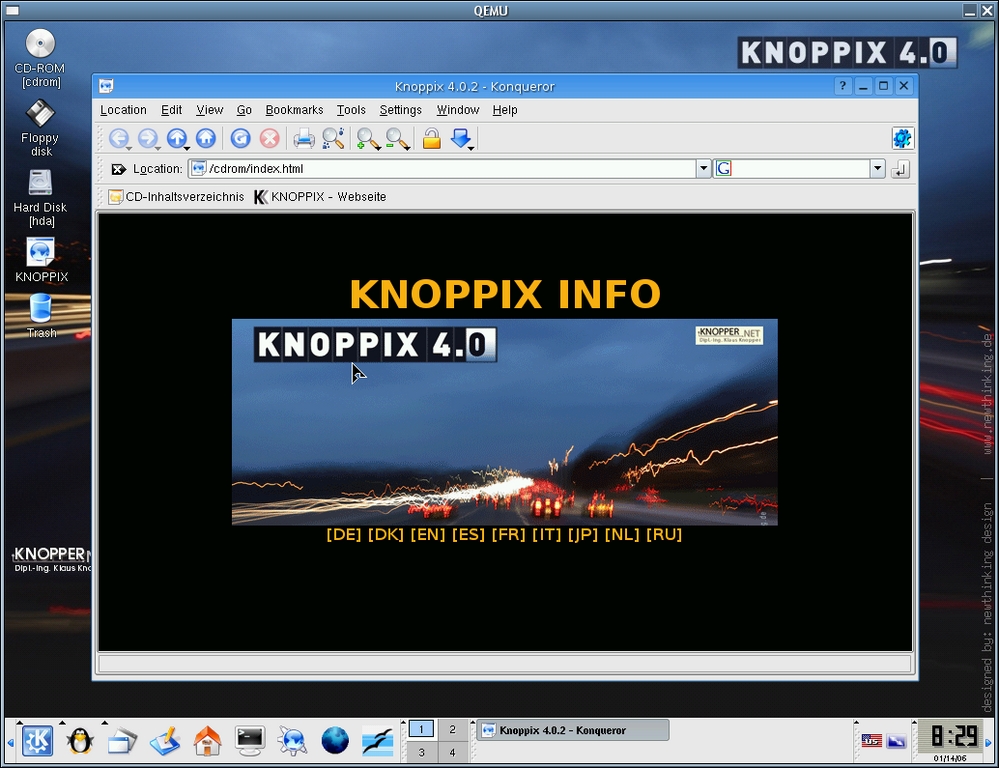
Figure 1. QEMU Running the KNOPPIX Live CD
Before I could install an operating system, I first needed to prepare a virtual hard disk in which to install. QEMU understands various disk image formats, including VMware's vmdk, which would have come in handy if I had some of them lying around. As it turned out, the default, “raw” format worked well. A raw format disk image acts like an unformatted hard drive, which was perfect for my needs.
I used the following command to create an image named winxp.img, 5GB in size, which I figured was big enough to install Windows XP and Outlook and give me plenty of e-mail storage:
qemu-img create winxp.img 5120M
Looking back, a better size would have been 4GB, because that would have made it easier to create DVD backups.
Now that I had a virtual hard drive, I put my Windows XP Pro installation CD into my CD-ROM drive and launched QEMU with the appropriate arguments:
qemu -boot d -hda path/to/winxp.img -cdrom /dev/cdrom -m 256 -localtime
The -m 256 option set the memory allocated to the VM to 256MB—the default is 128MB, which is a bit small for Windows XP Pro. The -localtime option set the virtual BIOS clock to the local time on the host machine—the default is to set the BIOS clock to Universal Coordinated Time.
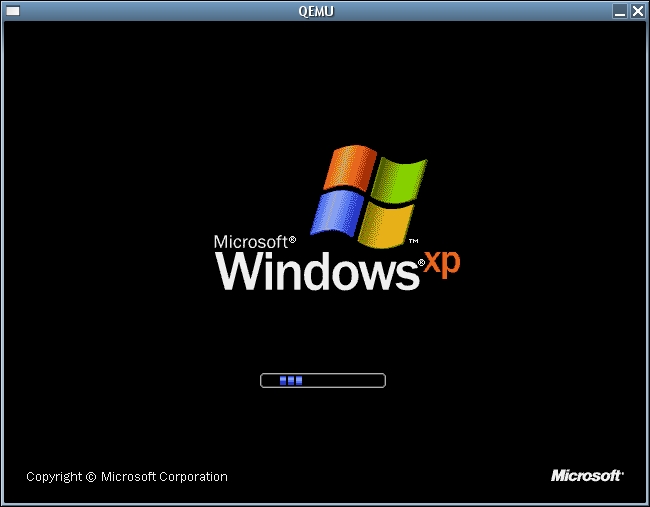
Figure 2. Booting Windows for the First Time
I found that installing Windows onto a virtual machine was very similar to installing it on a “real” computer. The installer comes up and has you choose where to install Windows. It asks you if you want to format your hard drive, prompts you to enter in your license key and so on. Once the base install was done, I shut down the VM, replaced my Windows XP Pro installation CD with my Microsoft Outlook installation CD and launched QEMU like so:
qemu -boot c -hda path/to/winxp.img -cdrom /dev/cdrom -m 256 -localtime
The only difference was to boot from winxp.img instead of from /dev/cdrom. The Outlook installation went like a typical Outlook installation—no real surprises there. When the Outlook installation was completed, I had a functioning Windows machine to call on whenever I needed it.
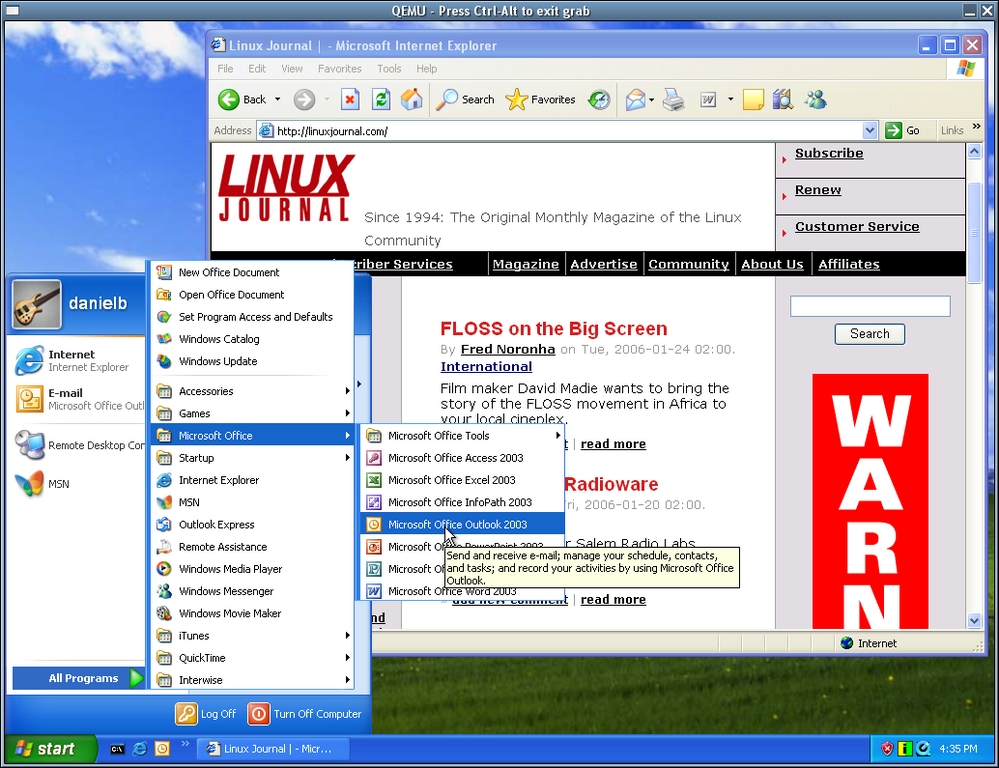
Figure 3. Windows XP Pro Running in QEMU
Now that I had my base operating system and needed application installed, I shut down the machine and created a GNOME launcher, so I could fire up my virtual Windows machine without typing it into my terminal every time. As you can see from Figure 4, I basically removed the CD-ROM info from the command, because I don't need a CD-ROM to be present during normal operation. Refer to the documentation for your distribution on how to create a custom application launcher.
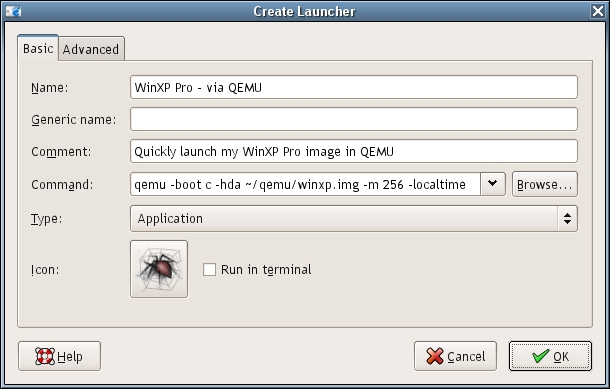
Figure 4. A Simple GNOME Launcher for QEMU
There are a few ways to squeeze extra performance out of QEMU:
More RAM: the first thing I did was add more RAM. I did not want QEMU to have any reason to access my swap partition. Swap partitions are very useful, but too slow for resource-intensive tasks such as emulation. With more RAM, you get not only better performance from your VM, you also can run multiple VMs at the same time (see Figure 5 for an example of this).
KQEMU: the second thing I did to get better performance was to compile in the KQEMU accelerator module.
Set up a RAM disk: even with extra memory, there are times when QEMU needs to cache things to disk. To speed up this process, I set up a RAM disk. A RAM disk is a virtual disk drive created from free RAM. To create it, I entered the following into my /etc/fstab and then rebooted my machine:
tmpfs /dev/shm tmpfs defaults 0 0
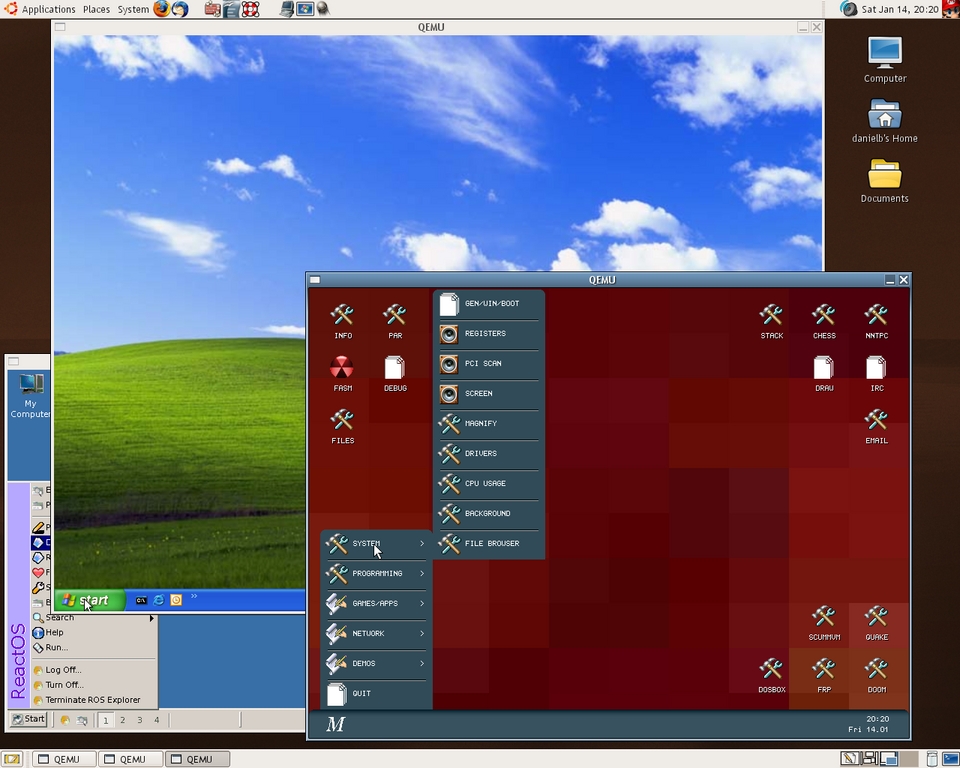
Figure 5. QEMU Running Three Virtual Machines Simultaneously
A dilemma I ran into after I started using QEMU was how to get files out of my QEMU VM for backup purposes. The first method I tried was to install an SSH secure copy (scp) client for Windows and then use it to transfer files to myself. This works, but it was not as simple as I wanted the process to be.
The second method I tried worked much better. When starting QEMU, there is an option to specify a shared directory. QEMU makes it available to the VM through Samba, so you need to have Samba installed for this to work. The option is -smb dir—where dir is the directory on my host machine for which I want my Windows XP VM to have access. I then added the following line to C:\WINNT\SYSTEM32\DRIVERS\ETC\LMHOSTS on my Windows XP VM:
10.0.2.4 smbserver
Accessing my shared folder from within my VM was then as easy as navigating to \\smbserver\qemu.
QEMU may lack the graphical configuration and VM setup tools of commercial programs like VMware, but I have found it to be an excellent solution to the I-need-to-run-just-one-Windows-application problem. Judging from the comments I've read on the QEMU forum and on the #qemu channel on the Freenode IRC network, QEMU is well suited to solving many other problems. Give it a try, I think you'll like it.
Resources for this article: /article/8884.
Daniel Bartholomew has been using computers since the early 1980s when his parents brought home an Apple IIe (with an 80-column card!). After stints on Mac and Windows machines, he discovered Linux (Slackware) in 1996 and has been using various distributions ever since. He lives with his wife and children in North Carolina.

